
Ceiling Repair in Conroe, TX | Conroe Drywall Co.
Conroe Drywall Co., a drywall contractor, has handled ceiling repair for homeowners and property managers in Conroe, Texas for over 15 years. Most people call us about one mark overhead that nobody in the house can explain, and what you can see is rarely the whole story. Ceiling cracks come in more than one form: a stress crack is a thin line that opens as the framing above moves, and an opened taped seam runs long and straight along a joint between boards.
Sagging and warping leave your ceiling uneven instead of flat. Nail pops appear as small round bumps, while holes and punctures come from attic traffic above. A water stain shows up as a brown or yellow patch left by moisture. Texture matching restores the sprayed or troweled pattern, and a drywall primer-sealer is applied before paint.
Each of these is a symptom, so ceiling drywall repair starts by finding the cause. We tap the surface to identify loose areas, check moisture with a meter, and locate the joists supporting the board. Ceiling screws are spaced about 12 inches apart, setting-type compound hardens overhead, and GA-214 finish levels determine how smooth the repair needs to be. Popcorn removal and new ceiling installation are separate services we also provide.
We repair ceilings throughout Willis, Montgomery, the Lake Conroe communities, and across Montgomery County, finishing each patch to match the surrounding ceiling. Call us at (346) 488-0243 for a free on-site estimate and a written price.
Get A Free Estimate
The Ceiling Damage We Repair
Everything on this list is damage to an existing ceiling, which means the board, tape, fasteners, or texture has failed rather than the room needing a new ceiling. We group ceiling repair work by the type of damage you can see, not by its cause, because the damage is visible even when the source is not. Five families of ceiling damage cover nearly every residential and commercial job we see in Conroe, and any one of them can be a symptom of a problem above the ceiling.
Stress Cracks, and the Cracks That Are Not
A crack overhead comes from either the finish moving or the building moving. Hairline cracks under about 1/16 inch along a taped joint come from the finish, and re-bedding the paper tape in setting-type compound repairs them. Cracks that open each winter and close each summer where the ceiling meets an interior partition point to truss uplift: attic moisture swells and dries the timber in a trussed roof unevenly through the year, causing the truss to arch and lift the ceiling away from partitions it was never fastened to.
Re-taping that joint by itself brings the crack back. Its direction and location provide clues, not a diagnosis, so ceiling cracks that are wide, displaced, or keep returning outside that seasonal pattern should be evaluated by another qualified professional before a ceiling crack repair contractor fills them.
Sagging and Warping Overhead
A sagging ceiling dips between the joists when the board is too thin for the span it has to cover. ASTM C840 sets the rule: 1/2-inch board belongs on framing 16 inches on center, while framing 24 inches on center calls for 5/8 drywall or 1/2-inch board made as sag-resistant ceiling board. Extra weight makes ceiling warping worse, whether it comes from wet-applied texture sprayed onto board already spanning too far or blown-in insulation piled above it, and fasteners that have lost their grip let the board pull away from the joist. When the dip is local, we refasten and back the board; when the ceiling plane itself has failed, we replace it.
Taped Seams That Have Opened Overhead
Taped seams are the weakest lines in a ceiling and the first place failure appears. A taped joint uses paper tape about 2 inches wide, bedded into compound so the tape carries the joint instead of the compound alone. Butt joints overhead are harder to finish because the board edges have no recess to hide the buildup.
A drywall seam fails in two ways: the tape lifts when there was too little compound beneath it, or the joint opens because the framing behind it moved. Nail pops fall into the same family, with the fastener backing out as the framing dries and shrinks. We cut out failed tape instead of skimming over it, then refasten both sides of the joint before applying new tape.
Holes and Punctures Overhead
This is accidental ceiling damage: a doorknob or furniture strike, a foot or knee through the ceiling from the attic above, an access hole cut by another trade to reach a pipe, duct, or wire, or the small punctures left behind when a hanger or fixture is moved. Size determines the ceiling hole repair. For holes under about 6 inches, we install backing, such as a furring strip or offcut behind the board, to support the drywall patch. Larger holes are squared back to the joists so the new piece fastens to solid framing. Ragged edges are cut back to clean board first. Attic access damage from another trade is common, and we repair it the same way.
What a Water Stain Is Telling You
A brown ring overhead has several possible causes, so we identify the source before opening the ceiling. A ceiling leak can come from the roof, a supply or waste line in the floor above, or, most often in a slab-on-grade house here, the air handler in the attic directly above the ceiling. Its condensate drain line carries away water that forms on the cooling coil, the secondary drain pan beneath the unit catches overflow, and the float switch is designed to shut the system off before that pan fills.
We identify these and do not service them, which is HVAC work. Where the stain sits relative to what is above it, whether it spreads in rain or in heat, and a moisture meter reading together point at one cause. Stopping the leak at its source is a separate trade from ours. The moisture source has to be stopped and any active mold dealt with before the wall is closed. Rebuilding a ceiling after water damage is a separate service of ours.

How We Assess, Cut Out and Repair a Damaged Ceiling
A ceiling assessment starts before any board comes down. The same brown mark, dip or split can come from different problems, so we check the material, moisture and framing before deciding where to cut. Damage visible from the floor can extend beyond the stained or cracked area, and the ceiling inspection establishes that boundary before the ceiling opening is marked. When you call us as your contractor for ceiling repair, this inspection is included with the free on-site estimate and gives us the scope for the repair.
Test the Board Before Making the First Cut
The tap test is a knuckle run across the surface. Board still tight to the framing sounds solid, while board that has pulled away sounds hollow, letting us map how far the loose area extends. A probe is a thin blade pushed into a failed spot to check whether the gypsum core, the chalky layer inside the board, is still firm or crumbles away.
A moisture meter shows how much water is in the board and separates drywall that is wet now from a stain left by moisture that dried long ago. A dry stain can be sealed and painted, while wet or soft board has to come out.
Locate the Joists, Framing and Ceiling Openings
A ceiling patch has to fasten to something solid, so we locate the ceiling joists, the timbers supporting your ceiling, before marking the cut. Joist spacing is either 16 or 24 inches on center, measured from the center of one joist to the center of the next rather than across the open gap, and that spacing tells us whether the existing board was thick enough for the span.
Where your attic is accessible, we check whether the framing is dry, whether insulation is resting on the board and adding weight the patch will have to carry, and whether a duct or wire crosses the planned opening. Reading the framing this way is not a structural assessment. We also locate recessed lighting and other fittings before cutting so the repair does not run blindly into an electrical box, trim opening or ceiling fan box.
Cut Back to Sound Board and Solid Support
We cut out damaged drywall back to sound board and to a joist the new piece can fasten to. A mark the size of your hand can therefore lead to an opening several feet across. Squaring the opening to the framing removes more board, but it gives the new piece solid support and creates joints that tape flat. A smaller opening in the middle of a span still needs drywall backing behind its edges and leaves four joints to finish.
The new edge has to remain firm enough to hold fasteners and drywall tape. An enlarged or ragged ceiling opening around a fixture is also brought back to a clean edge before new board is fitted.
Back the Patch and Fasten It Into the Framing
An opening between ceiling joists has no framing behind every edge, so we install drywall backing before setting the new piece. Strips of furring or timber go behind the sound board around the opening, overlap it by about two inches on each side and are screwed through the existing board. The backing supports the ceiling patch while steadying the old edge, and the replacement board has to sit flush with the surrounding ceiling rather than proud of it.
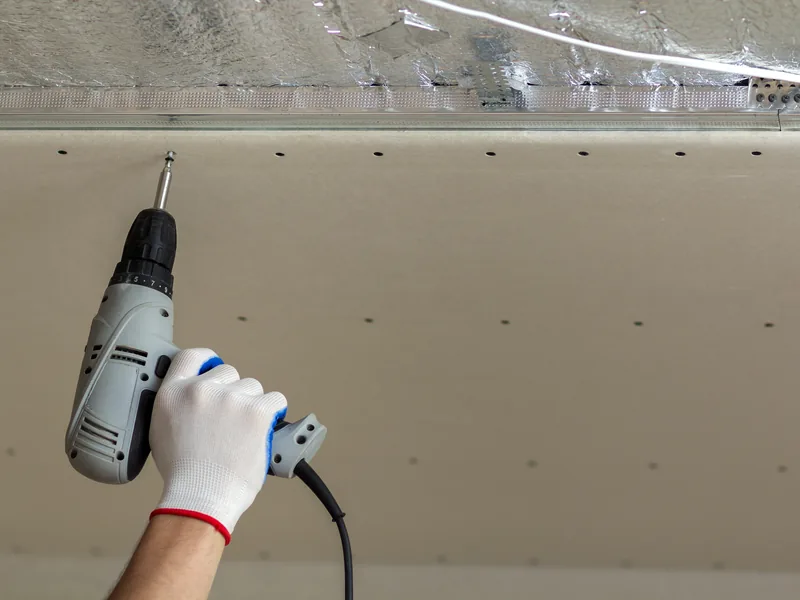
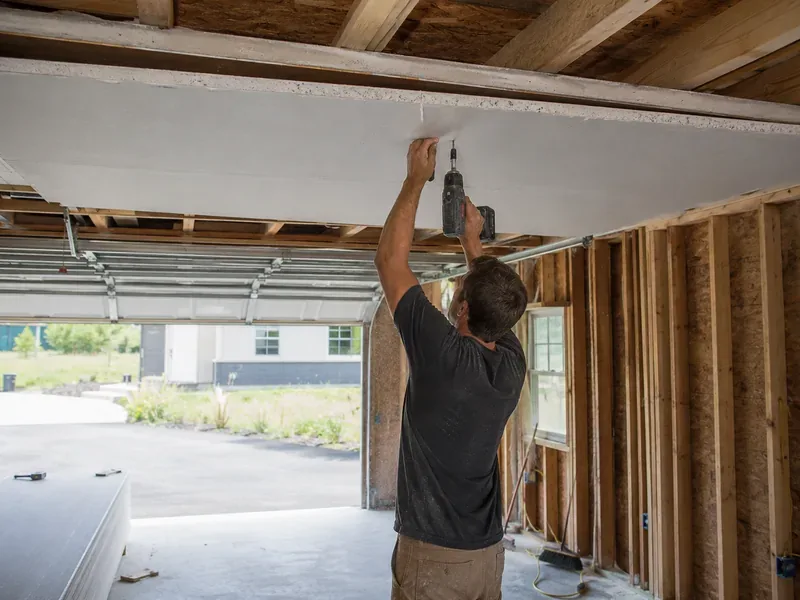
Board overhead hangs from its fasteners instead of standing against them, so a drywall ceiling contractor uses closer screw spacing than on a wall. On a single-layer ceiling, drywall screws run about 12 inches apart along each of the ceiling joists, compared with roughly 16 inches on a wall framed at the same spacing. For wood framing, 1-1/4 inch screws are standard, with each head driven just below the paper face without breaking through it.
A screw that tears the paper has almost no holding strength and can work loose again. Around the repair, old fasteners that have backed out are driven home or replaced with a new screw beside them rather than simply covered over. This keeps the new piece and the surrounding board on the same plane before finishing begins.
Tape the Joints and Finish Around Fixtures and Fan Boxes
The first fill overhead is usually a setting compound, which hardens through a chemical reaction rather than by drying. It holds its shape while hanging upside down and does not stall in humid air. It is sold by set time, from about five minutes to a few hours, so the mix is chosen to match the repair. Drywall tape is bedded into that compound over each joint, followed by ready-mixed joint compound spread wider with each coat so the repair blends into the ceiling plane.
Two to three coats over a joint is normal, and each coat has to harden before the next goes on. Cracked compound also forms around recessed lighting where metal and drywall move against each other, and a wider old fixture can leave an oversized opening when replaced by a narrower one. Those openings are backed, brought back to a clean edge and finished so the trim ring covers a true circle instead of a visible ceiling patch.
A ceiling fan box has a separate requirement because the fan needs a box rated and braced for its weight and movement. That box is an electrician's fitting. Our work is to correct the drywall around what the electrician installs, close the opening neatly and restore the ceiling plane around it.
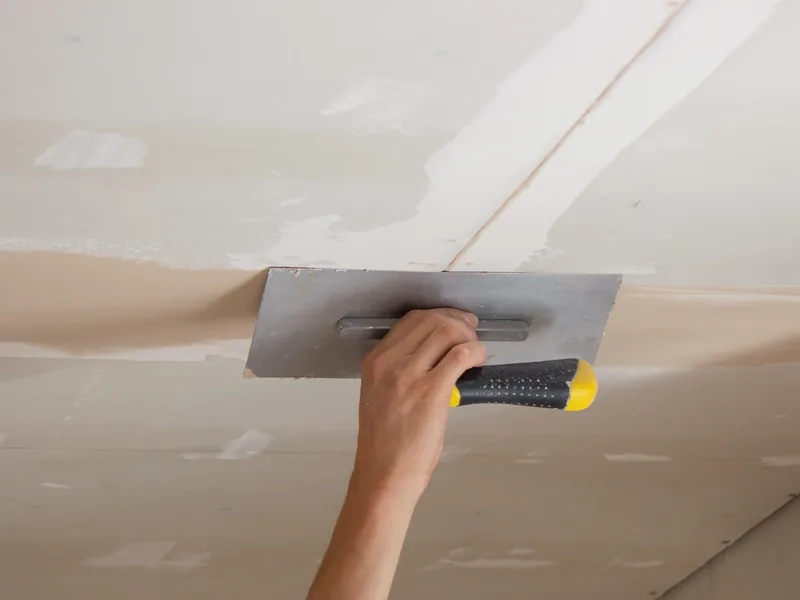
Making a Ceiling Repair Disappear
You should not be able to spot the repair from the doorway, and that is the real test, not simply whether the hole is gone. The ceiling already overhead sets the target, so the new work has to match the surrounding texture, sheen, and plane all at once. Getting all three to blend is where most of the skill and most of the time in a ceiling repair go, long after the board is back in place.
Matching an Existing Sprayed Acoustic Texture
A sprayed acoustic texture, the bumpy white finish most people call a popcorn ceiling, is made from loose granules blown onto the surface rather than paint. Because those granules create the look, a patch stands out unless their size, spray thickness, and sheen all match. Our texture matching starts with a small sample taken from an out-of-sight corner of the ceiling, then we spray test panels and compare them under the light in your own room before applying anything overhead.
The new texture is then feathered out well past the repair instead of stopped at its edge. Texture installed before 1990 can contain asbestos, so we arrange lab testing before any scraping begins and remove only material the results clear as safe. Taking a whole textured ceiling down is our popcorn ceiling removal service.
Knockdown, Orange Peel and Hand Textures
Most Conroe ceilings use one of a few common ceiling texture families, and each one is matched differently. Orange peel is a fine spatter of thinned compound left exactly as it lands. Knockdown texture starts with the same spatter, then a wide blade flattens it once it begins to set, so the timing between the spray and that pass changes the look more than anything in the mix.
Stomp and skip trowel textures come from the finisher's hand rather than a product, so the pattern itself cannot be bought. Matching either one means reproducing the scale of the pattern as well as its type, and a hand-applied texture has to be matched by eye. We prove the match on a sample panel and show it to you before applying it to your ceiling.
Primer, Critical Light and Why a Patch Flashes
Fresh compound absorbs paint faster than the aged painted surface around it, so the patch can reappear with a different sheen once the paint dries. That difference is called flashing, and sealing the repair first with a drywall primer-sealer evens out how the entire surface accepts paint. Ceilings show flashing more clearly than walls because light from a window or fixture travels across the plane at a shallow angle, revealing every change in sheen and every ridge.
GA-214 provides the finish-level vocabulary for this kind of critical light, and a ceiling exposed to it needs a flatter, wider feather. A dry stain with a resolved cause is sealed with a shellac-based blocker because latex alone lets the ring bleed back through within weeks. Any board that is still wet, or was soaked by anything other than clean supply water, is removed under our water damage service.

Why Choose Conroe Drywall Co. for Ceiling Repair
We read the ceiling before repairing it, so the scope you sign is based on what is wrong above the board rather than the stain or crack you can see from the floor.
- That separates drywall ceiling repair contractors who price a patch from those who price a repair built to hold.
- Texture matching decides whether a finished patch disappears into the ceiling or stands out under the room's light.
- We work overhead in a room you still use, so scaffold, dust and furniture are planned around you.
- We are insured and follow established industry practices, including ASTM C840 standards for gypsum board installation and finishing.
- Over 15 years on ceilings across Montgomery County.
- Our on-site estimates are free, and financing is available for larger projects.
We are an insured drywall contractor serving Montgomery County and the communities around it, and among ceiling drywall contractors here we are one you can have out this week. Call (346) 488-0243 or use the quote form and we will come take a look.
What Ceiling Repair Costs in Conroe
Ceiling repair is priced by what the damage requires: how much board has to come out, what needs to replace it, and how the finish is matched. The figures below are published market ranges rather than a quote, but they give you a rough idea of where your own ceiling falls before you call. Ceiling work is priced above the same repair on a wall because every board, coat, and texture pass is completed overhead from a ladder or scaffold.
What Moves the Price on a Ceiling Repair
These are the cost factors we weigh during the walk-through, and you can judge most of them on your own ceiling from the floor.
- How much board needs to come out, and whether new backing has to be installed behind it.
- Which texture needs to be matched, and how closely a sprayed or hand-applied finish can be reproduced.
- Ceiling height, whether the plane is 8 feet up or 20, and whether reaching it requires a scaffold or lift.
- How the ceiling is lit, because grazing light increases the area that has to be finished.
- Whether a stained area needs to be sealed before paint.
- Whether the coats need drying time, turning one visit into two.
- Access, including furniture that has to be moved and flooring that needs protection underneath.
Repairing a Ceiling Against Replacing It
Most drywall repairs in Conroe run $250 to $1,800, with the average job landing near $600. New installation runs about $2.00 to $3.50 per square foot installed. Set those against the area affected: patching a few feet of a damaged ceiling stays near the bottom of the repair range, while a whole plane taken down and reboarded is charged by the foot, so the cost to replace ceiling board across a large room climbs past what a repair would be.
Both are general drywall-repair ranges that cover walls and ceilings, not ceiling-only figures, so a ceiling repair of the same size falls toward the upper end of the range rather than around the average. These are market ranges, not a rate we have quoted you. Your written estimate is what sets your actual ceiling repair cost.
Among ceiling repair companies here, we would rather give you an honest comparison than sell you a larger job than you need. Call (346) 488-0243 or use the quote form for a written price.
How a Ceiling Repair Runs From Inspection to Texture
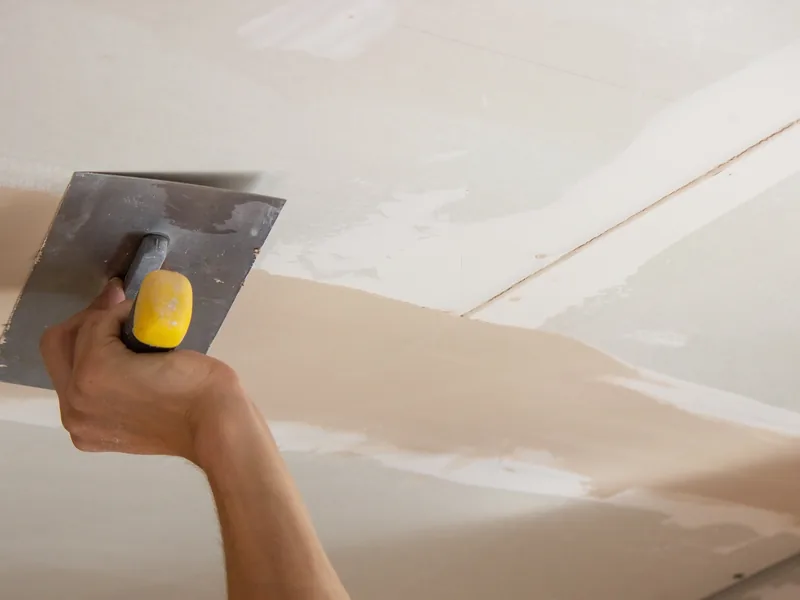
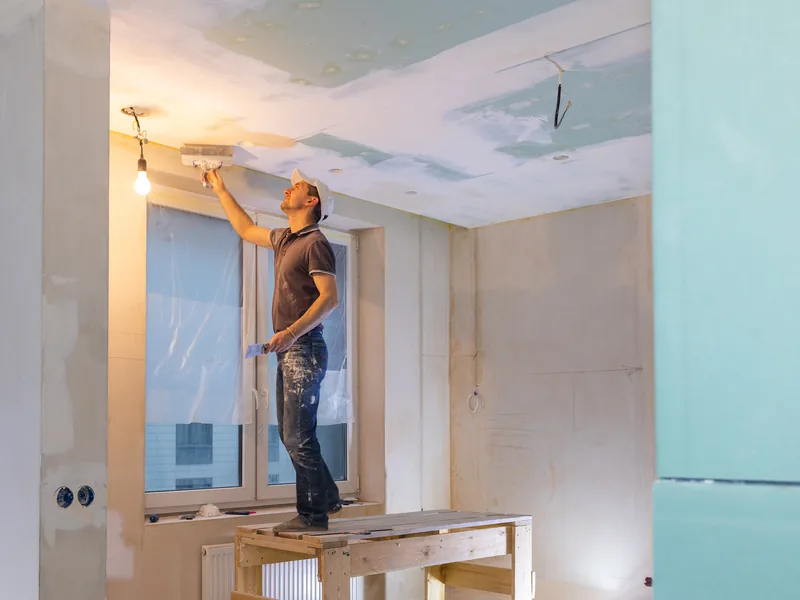
A ceiling repair starts with inspecting the damage and ends with a matched, primed ceiling plane ready for paint. Most repairs are completed in a single visit, and the ceiling repair process is described here from your side rather than ours. Drying time between coats determines whether the job takes one visit or two. You are needed for just two of the three steps: the first inspection and the final walk-through.
-
1
Tell us what the ceiling is doing, then we come and look
Tell us what you can see, which room it is in, and when you first noticed it. A crack that appeared last winter and one that has been widening for two years point in different directions, so the date is worth more than it sounds. Photographs help us arrive with the right equipment, though they cannot settle a price. Call or send the quote form for a free estimate, whichever suits you. Conroe Drywall Co. makes the on-site estimate with you in the room, and on most jobs it takes under an hour. We look at the damage, at what is above it, and at whether anything is still wet. You are told what we found and what it means for your ceiling before we leave. Nothing is opened up on this visit unless you ask us to.
-
2
The written scope and price
Your written estimate lists board, taping and floating, texture and primer as separate lines, so you can see what each part of the work costs. Taping and floating is the finishing half: bedding tape into the joints, then spreading compound wide enough that no ridge is left where the patch meets the ceiling. It also states whether the job is one visit or two. Both the line items and the visit count are in front of you before you agree to any of it.
-
3
Repair day, the texture match and the walk-through
We cover floors and furniture before anything starts, because ceiling work drops dust and compound straight down. In an occupied home you keep the rest of the house, and we tell you in advance what to clear out of the room so the crew can set up under the damaged area. In a rental or a managed unit we will work to the access window you give us and deal with your tenant directly if you would rather not be there. Texture matching is checked with you standing in the room, under the light that room actually has, because that is the light you will judge it in from then on. The plane is primed and left paint ready. If the repair needs looking at again, you are told who to call.
Call (346) 488-0243 or use the quote form to schedule your on-site inspection.
Humidity, Drying Time and a Ceiling That Is Ready for Paint
Conroe has a humid subtropical climate, and that damp air is the one variable we cannot control. Compound overhead releases its water into the surrounding air, so during a wet week a coat that would normally be ready in hours can still be soft by afternoon. Humidity, more than the size of the damage, determines drying time on your ceiling, which is why we choose the material and plan the number of visits at the estimate rather than on the day of the repair.
Why a Coat That Is Rushed Shows Later
Joint compound shrinks as it dries. Cover it before it has released its water and the coat underneath keeps shrinking beneath the next one, which cracks the build along the repair line and can leave a ridge days after the crew has gone. Primer over damp compound causes the same problem: it sits on the surface instead of sealing it, and the difference shows as a dull patch once the paint is applied. When the air will not let a coat dry properly, we return for a second visit. That costs less than cutting back a failed finish and doing it again.
When Ceiling Work Is Easiest to Schedule
During the cooler, drier parts of the year, coats dry faster and the wait between them is shorter. In the wettest months, that wait increases and a repair of the same size takes longer to reach the paint stage. Most of that difference disappears indoors because a room kept at temperature by your air conditioning is far drier than the air outside, so a conditioned ceiling is not held back by the season. The season affects the scheduling of a repair, not whether we can do it, and we will tell you which timeline applies before the work starts.
High, Vaulted and Two-Story Ceilings
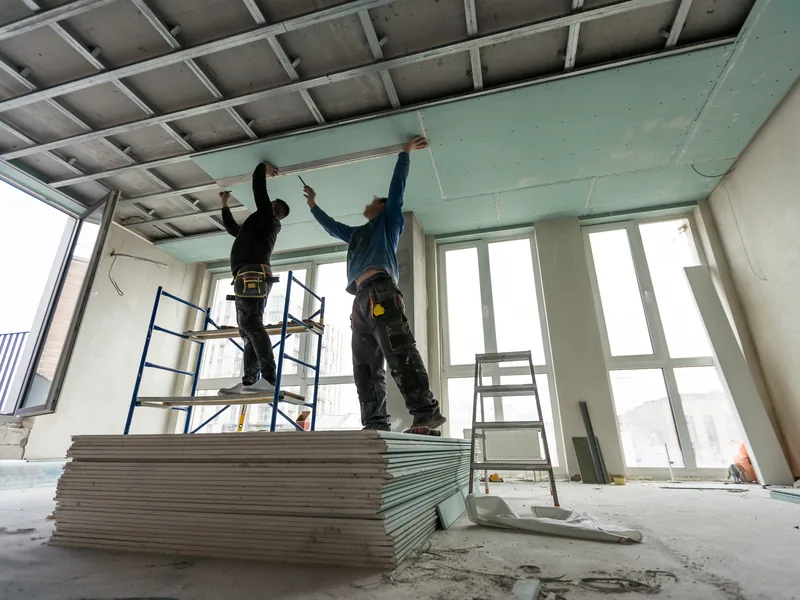
Height is the property feature that changes ceiling repair the most. A vaulted ceiling follows the roofline instead of running flat, while a two-story entry places the ceiling plane well above the floor below. High ceilings need the same patch as a bedroom ceiling. What changes is how we reach the surface, how long the work takes overhead, and how closely the finished repair is seen once it is done.
Reaching the Work Safely
An entry ceiling 18 to 20 feet high requires scaffold or lift access. A scaffold is a temporary frame built up from your floor to provide a stable work platform, while a lift raises the platform on a powered arm. At that height, neither is optional, and we do not use a step ladder to reach a ceiling that far up. Both need clear floor space and a wide enough path to bring the equipment in, so we ask you to move what you can from the room. We cover the flooring and any furniture that stays before setup begins, and high ceiling repair starts only after that protection is in place.
Why Height Shows Every Flaw
A tall ceiling plane is usually lit by a window or high fixture positioned along its length, so the light travels across the surface instead of hitting it straight on. Under that critical light, the finish has to be feathered wider and built up in more coats than the same repair on a lower ceiling. Because you cannot run a hand over a ceiling finish at that height, we check the surface with a work light held against the plane instead. The entire ceiling plane is then primed rather than just the patch.
Where a Ceiling Repair Stops and a New Ceiling Starts
Ceiling repair works with the plane you already have, fixing the damaged area while leaving the rest in place. When the damage extends beyond what a patch should carry, two other services take over. The question to ask early is not how large the hole is, but what condition the entire ceiling is in, because that is what decides whether you repair or replace it.
When Repair Is Still the Right Answer
Most damaged ceilings are still sound beyond the affected area, which is what makes repair the right approach. As a rough guide, damage covering less than about a quarter of the ceiling plane usually leaves enough good board around it to tie into. The gypsum board overhead, the pressed chalky panel your ceiling is made from, is still suitable when it matches the framing it hangs on, and a texture that can be matched helps the finished repair disappear. None of that is decided by a rule of thumb alone. We come out, inspect the ceiling you have, and tell you which side of the repair-or-replace line it falls on.
When Another Service Takes Over
Two related services begin where ceiling repair stops, and the size of the job determines which one applies. If the bumpy sprayed finish is coming off an entire room rather than one corner, that becomes popcorn ceiling removal. If new board is going up across the whole plane after water damage or a remodel, that becomes ceiling installation. Crossing that scope boundary changes the work, not who does it. The same crew comes out, you receive one written scope either way, and the new surface still has to match the ceilings around it when the job is finished.

Ceiling Repair Across Conroe and Montgomery County
Ceilings across Conroe share the same climate and a similar mix of housing. This part of Texas gets about 51 inches of rain in an average year and has a humid subtropical climate. Homes range from established neighborhoods to new subdivisions and lake-area properties, but whatever sits above your ceiling, the same three elements matter: the board overhead, the framing supporting it, and the finish on its face. A downtown bungalow and a house on the lake give us the same three things to work with, which is why the ceiling repair Conroe homeowners book follows much the same process in either one.
Where Conroe Drywall Co. Repairs Ceilings
Conroe Drywall Co. repairs ceilings across a service area of 21 communities. Most sit in Montgomery County, and the area reaches a little past the county line to New Waverly in Walker County and Plantersville in Grimes County. You will find yours in one of these three groups.
Conroe Neighborhoods and Communities
- Grand Central Park
- Graystone Hills
- Rivershire
- Stewarts Forest
- Downtown Conroe
- Wedgewood
- West Fork
- Tejas Creek
Surrounding Cities and Communities
- Willis
- Montgomery
- New Caney
- Splendora
- New Waverly
- Cut and Shoot
- Panorama Village
- Grangerland
- Plantersville
Lake Conroe Communities
- Lake Conroe
- Bentwater
- Walden on Lake Conroe
- April Sound

FAQ
Ceiling Repair Questions
These answers cover the questions Conroe homeowners ask most before booking a ceiling repair, from what the work costs to what happens with the paint afterward.
Can I repair a ceiling myself?
A hole under about 6 inches with solid backing behind it is genuinely a homeowner repair. Working overhead is harder than working on a wall because compound pulls away from you. What defeats most home ceiling repairs, though, is not the patch itself but the match, because the surrounding texture is difficult to reproduce exactly.
How much does it cost to do a ceiling repair?
Expect a drywall repair to cost somewhere between $250 and $1,800, with most jobs landing near $600. That range covers drywall repair of every kind. Ceiling work costs more because it is harder to reach and finish overhead, so a ceiling repair falls toward the upper half of that range. Two identical holes can still be quoted differently because the surrounding ceiling changes the work: a smooth plane costs less to finish than one with a sprayed texture where any mismatch would stand out.
Why does my ceiling crack in the same place every winter?
That is truss uplift, and the seasonal timing is the key clue. A crack that closes on its own by late spring is behaving the way uplift does, so tell us that when you call. Simply re-taping the joint is what makes the crack return. A joint detailed to let the ceiling move is the repair that lasts.
How long does a ceiling repair take?
Most repairs take one day, including texture. Two things push it into a second visit: a deep hole that needs compound built up in layers, and a damp room where each layer dries slowly. We tell you which applies before we start rather than after.
Why is my ceiling sagging between the joists?
The usual cause is 1/2-inch board hung on framing spaced 24 inches apart, leaving too much unsupported span. Added weight from texture or blown insulation above makes the sag more pronounced. You can check the pattern yourself: a sag that runs in even bands between straight lines points to a spacing problem.
Is a stained ceiling always a leak?
No. An attic air handler sweating in humid weather leaves the same brown ceiling stain as a roof leak. If the ceiling is stained but dry, the mark can be sealed with a stain-blocking primer instead of opening the board. Either way, the source is resolved before any drywall is replaced.
Should I wait and see if the ceiling stain comes back?
Whatever is wetting the board keeps damaging it while you wait, and a small area of softened gypsum can spread into a larger repair. Homeowner policies commonly treat a sudden, accidental discharge differently from slow seepage, so an unexplained stain can be harder to claim. Your policy and your insurer determine coverage, not us.
Do you have to repaint the whole ceiling after a repair?
We prime the patch first so it absorbs paint at the same rate as the surrounding board. The ceiling is then normally repainted from wall to wall rather than spot-painted, because a fresh patch of paint will show. Finish painting is a separate service and is quoted on its own.
Get Your Ceiling Looked At by Conroe Drywall Co. in Conroe, TX
The next step is a look at the ceiling, not a commitment. We cover Conroe, Montgomery County and the surrounding communities. You get a written price for the ceiling repair Conroe homes need before you decide anything. Call (346) 488-0243 or use our quote form for a clear price on your project.